8.6.4. Configuring the connection to the MISP
8.6.4.1. Introduction
`MISP`.8.6.4.2. Links associated
For more information, see the Interconnection with external systems.The graphical interface is described in `MISP settings` screen.
8.6.4.3. Prerequisites
User: member of Administrator group
8.6.4.4. Preliminary operations
Login to GCenter via a browser (see Connecting to the GCenter web interface via a web browser)
8.6.4.5. Procedure to access the `MISP settings`
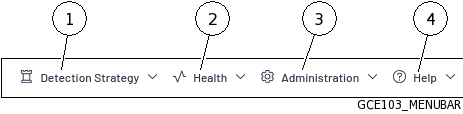
In the GCenter interface, click on the
`Administration`menu (3).- Click on the
`MISP`command from the`Third party`submenu.The`MISP`window is displayed.
8.6.4.6. Procedure to configure the connection
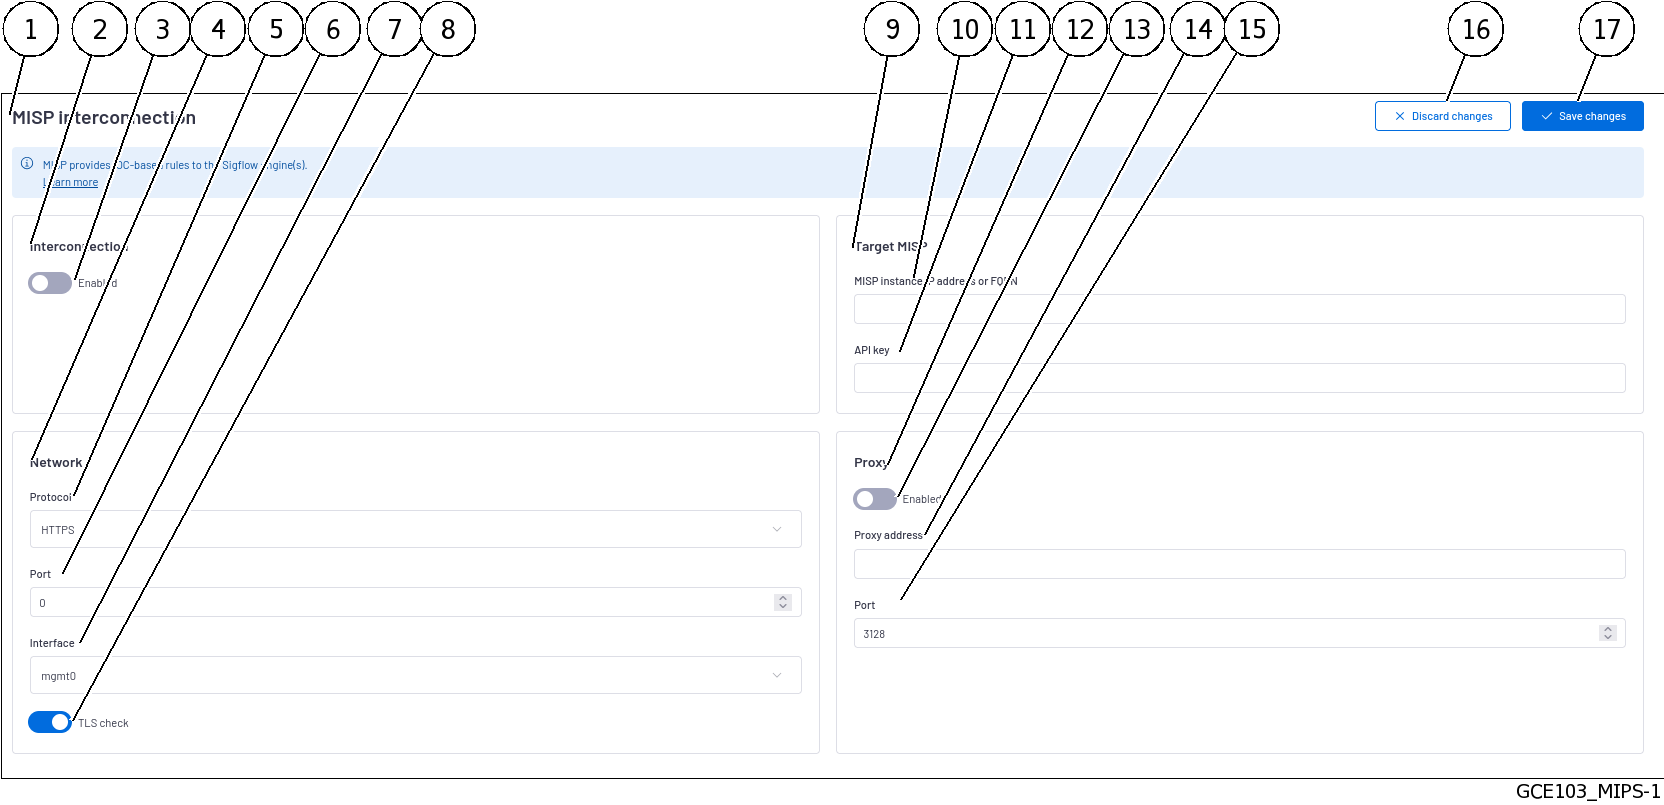
Use the
`Enabled`selector (3) to activate the interconnection (2).If necessary, use the
`TLS check`selector (8).Enter the parameters of the
`Network`area (4):Select the communication protocol (5) to use to contact the MISP instance: two options are possible ('https' and 'http')
Enter the listening port (6)
Select the GCenter network interface (7) to connect to
Enter the Target MISP parameters (9):
Enter the FQDN or IP address (10) of the MISP instance
Enter the API key (11) of the MISP instance
If needed, enter the Proxy parameters (12):
use the
`Enabled`selector (13)Enter the Proxy address (14).
Enter the listening port (15).
- Click on the
`Save changes`button (17).The sub-menu`MISP`of the menu`Sigflow`is now available to members of the`operator`group.It is therefore possible to choose a manual or automatic update.