8.8.3. Enabling and configuring the Machine Learning engine
8.8.3.1. Introduction
This procedure shows how to enable or disable the Machine Learning (or DGA) engine.
To |
Apply the procedures |
|---|---|
Enable the engine |
1 - Apply the Procedure to access to the `Domain Name Generation (DGA) Detection Management` window for an administrator account |
2 - Apply the Procedure to enable the engine |
|
Disable the engine |
1 - Apply the Procedure to access to the `Domain Name Generation (DGA) Detection Management` window for an administrator account |
2 - Apply the Procedure to disable the engine |
Note
The graphical interface is described in the `Admin-GCenter- ML Management` screen of the legacy web UI.
8.8.3.2. Prerequisites
User : member of Administrator group
8.8.3.3. Preliminary operations
Login to GCenter via a browser (see Connecting to the GCenter web interface via a web browser). with the prerequisite rights.
8.8.3.4. Procedure to access to the `Domain Name Generation (DGA) Detection Management` window for an administrator account
In the navigation bar, successively click on:
The
`Admin`buttonThe
`Gcenter`sub-menu`ML Management`commandThe`Machine Learning Management`window is shown.
- Click on the
`Machine Learning Management`heading.The`Machine Learning Management`window is displayed. It contains a single`DGA Detection Management`category. Click on the
`DGA Detection Management`button, the`Domain Name Generation (DGA) Detection Management`screen is displayed.
8.8.3.5. Procedure to enable the engine
- Click on the
`Setting`category.The`DGA Detection Settings`window displays the option to enable/disable the engine.
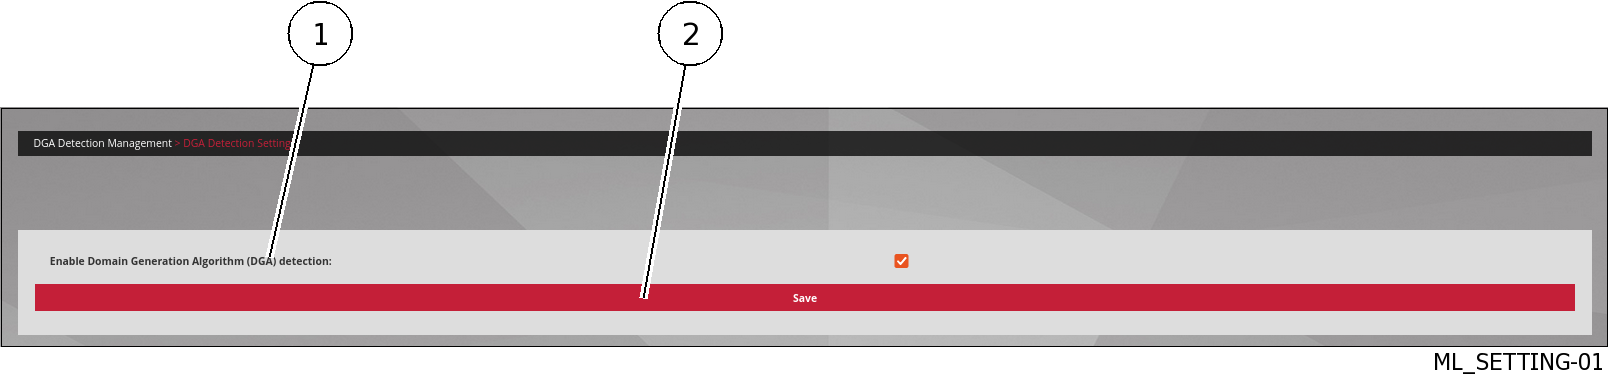
Tick the
`Enable Domain Generation Algorithm (DGA) detection`choice (1).
Note
This feature is disabled by default.
Click on the
`Save`button (2).
8.8.3.6. Procedure to disable the engine
- Click on the
`Setting`category.The`DGA Detection Settings`window displays the option to enable/disable the engine. Untick the
`Enable Domain Generation Algorithm (DGA) detection`choice (1).Click on the
`Save`button (2).